GSM PIN Management
Manage the PIN number of your SIM card (changing or removing it).
This example is part of the tools supplied for the Arduino GSM Shield and helps you change or remove the PIN of a SIM card .
Hardware Required
Arduino Board
SIM card
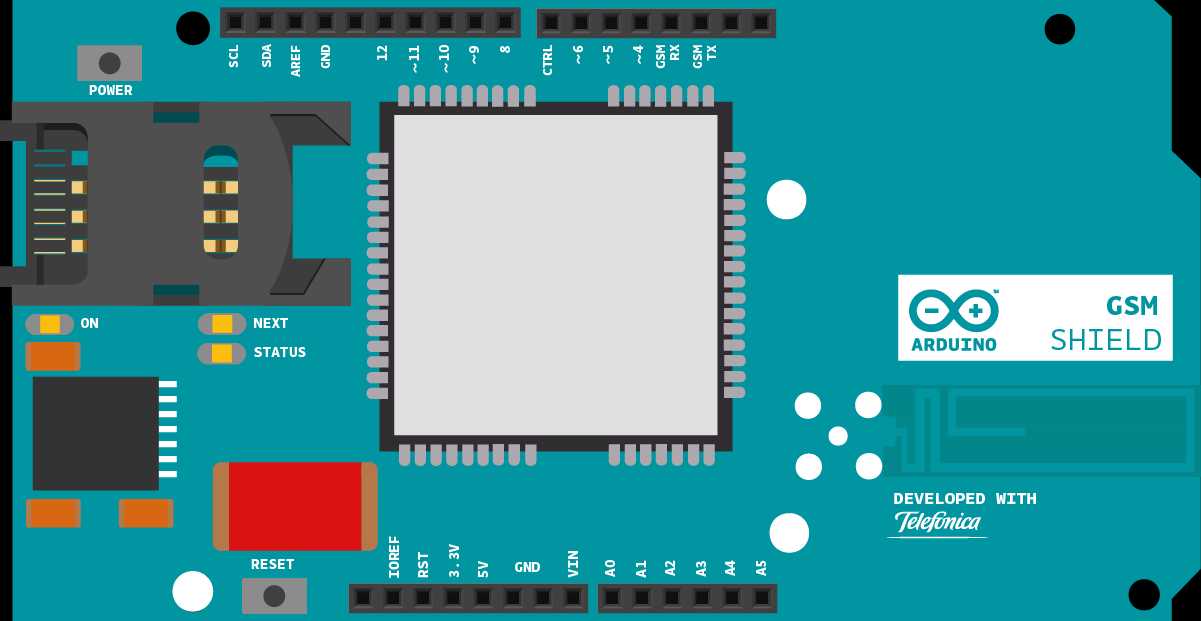
Circuit
Code
First, import the GSM library
#include <GSM.h>Initialize an instance of the GSMPin class.
GSMPIN PINManager;Create your variables, starting with a String to hold input from the serial monitor. Also make a flag for checking f the SIM has been authenticated with a valid PIN, and messages for the serial monitor.
1String user_input = "";2
3boolean auth = false;4
5String oktext = "OK";6
7String errortext = "ERROR";In
setupPINManager.begin()1void setup(){2
3 Serial.begin(9600);4
5 Serial.println("Change PIN example\n");6
7 PINManager.begin();Check to see if the SIM is locked with a PIN
1while(!auth){2
3 int pin_query = PINManager.isPIN();4
5 if(pin_query == 1)6
7 {If locked, ask for the PIN via the serial monitor. You'll use a custom function named
readSerial()1Serial.print("Enter PIN code: ");2
3 user_input = readSerial();If the PIN is valid, set the
authtrue1if(PINManager.checkPIN(user_input) == 0)2
3 {4
5 auth = true;6
7 PINManager.setPINUsed(true);8
9 Serial.println(oktext);10
11 }12
13 else14
15 {16
17 Serial.println("Incorrect PIN. Remember that you have 3 opportunities.");18
19 }20
21 }If the SIM is in PUK lock mode, ask for the PUK code and a new PIN
1else if(pin_query == -1)2
3 {4
5 Serial.println("PIN locked. Enter PUK code: ");6
7 String puk = readSerial();8
9 Serial.print("Now, enter a new PIN code: ");10
11 user_input = readSerial();12
13 if(PINManager.checkPUK(puk, user_input) == 0)14
15 {16
17 auth = true;18
19 PINManager.setPINUsed(true);20
21 Serial.println(oktext);22
23 }24
25 else26
27 {28
29 Serial.println("Incorrect PUK or invalid new PIN. Try again!.");30
31 }32
33 }If there is an error, and the PIN number and PUK are both locked, send an appropriate status message :
1else if(pin_query == -2)2
3 {4
5 Serial.println("PIN & PUK locked. Use PIN2/PUK2 in a mobile phone.");6
7 while(true);8
9 }If there's no PIN number, set the
authtrue1else2
3 {4
5 // SIM does not requires authentication6
7 Serial.println("No pin necessary.");8
9 auth = true;10
11 }12
13 }Check the registration on the GSM network, and indicate if you're connected or not, and if you're roaming.
1Serial.print("Checking register in GSM network...");2
3 if(PINManager.checkReg() == 0)4
5 Serial.println(oktext);6
7 else if(PINManager.checkReg() == 1)8
9 Serial.println("ROAMING " + oktext);10
11 else12
13 {14
15 Serial.println(errortext);16
17 while(true);18
19 }20}You're going to create a custom function to handle serial input from the serial monitor. Make a named function of type
String1String readSerial()2{While there is serial information available, read it into a new String. If a newline character is encountered, return to the main program.
1String text = "";2
3 while(1)4
5 {6
7 while (Serial.available() > 0)8
9 {10
11 char inChar = Serial.read();12
13 if (inChar == '\n')14
15 {16
17 return text;18
19 }20
21 if(inChar!='\r')22
23 text += inChar;24
25 }26
27 }28}loop()1void loop()2{3
4 Serial.println("Choose an option:\n1 - On/Off PIN.");5
6 if(PINManager.getPINUsed())7
8 Serial.println("2 - Change PIN.");9
10 String user_op = readSerial();11
12 if(user_op == "1")13
14 {15
16 Serial.println("Enter your PIN code:");17
18 user_input = readSerial();19
20 PINManager.switchPIN(user_input);21
22 }23
24 else if(user_op == "2" & PINManager.getPINUsed())25
26 {27
28 Serial.println("Enter your actual PIN code:");29
30 String oldPIN = readSerial();31
32 Serial.println("Now, enter your new PIN code:");33
34 String newPIN = readSerial();35
36 PINManager.changePIN(oldPIN, newPIN);37
38 }39
40 else41
42 {43
44 Serial.println("Incorrect option. Try again!.");45
46 }47
48 delay(1000);49}Once your code is uploaded, open the serial monitor to work with the PIN.
Complete Sketch
The complete sketch is below.
1/*2
3 Band Management4
5 This sketch, for the Arduino GSM shield, checks the band6
7 currently configured in the modem and allows you to change8
9 it.10
11 Please check http://www.worldtimezone.com/gsm.html12
13 Usual configurations:14
15 Europe, Africa, Middle East: E-GSM(900)+DCS(1800)16
17 USA, Canada, South America: GSM(850)+PCS(1900)18
19 Mexico: PCS(1900)20
21 Brazil: GSM(850)+E-GSM(900)+DCS(1800)+PCS(1900)22
23 Circuit:24
25 * GSM shield26
27 created 12 June 201228
29 by Javier Zorzano, Scott Fitzgerald30
31 This example is in the public domain.32
33 */34
35// libraries36#include <GSM.h>37
38// initialize the library instance39
40GSMBand band;41
42void setup() {43
44 // initialize serial communications and wait for port to open:45
46 Serial.begin(9600);47
48 while (!Serial) {49
50 ; // wait for serial port to connect. Needed for Leonardo only51
52 }53
54 // Beginning the band manager restarts the modem55
56 Serial.println("Restarting modem...");57
58 band.begin();59
60 Serial.println("Modem restarted.");61
62};63
64void loop() {65
66 // Get current band67
68 String bandName = band.getBand(); // Get and print band name69
70 Serial.print("Current band:");71
72 Serial.println(bandName);73
74 Serial.println("Want to change the band you're on?");75
76 String newBandName;77
78 newBandName = askUser();79
80 // Tell the user what we are about to do...81
82 Serial.print("\nConfiguring band ");83
84 Serial.println(newBandName);85
86 // Change the band87
88 bool operationSuccess;89
90 operationSuccess = band.setBand(newBandName);91
92 // Tell the user if the operation was OK93
94 if (operationSuccess) {95
96 Serial.println("Success");97
98 } else {99
100 Serial.println("Error while changing band");101
102 }103
104 if (operationSuccess) {105
106 while (true);107
108 }109}110
111// This function offers the user different options112// through the Serial interface113// The user selects one114
115String askUser() {116
117 String newBand;118
119 Serial.println("Select band:");120
121 // Print the different options122
123 Serial.println("1 : E-GSM(900)");124
125 Serial.println("2 : DCS(1800)");126
127 Serial.println("3 : PCS(1900)");128
129 Serial.println("4 : E-GSM(900)+DCS(1800) ex: Europe");130
131 Serial.println("5 : GSM(850)+PCS(1900) Ex: USA, South Am.");132
133 Serial.println("6 : GSM(850)+E-GSM(900)+DCS(1800)+PCS(1900)");134
135 // Empty the incoming buffer136
137 while (Serial.available()) {138
139 Serial.read();140
141 }142
143 // Wait for an answer, just look at the first character144
145 while (!Serial.available());146
147 char c = Serial.read();148
149 if (c == '1') {150
151 newBand = GSM_MODE_EGSM;152
153 } else if (c == '2') {154
155 newBand = GSM_MODE_DCS;156
157 } else if (c == '3') {158
159 newBand = GSM_MODE_PCS;160
161 } else if (c == '4') {162
163 newBand = GSM_MODE_EGSM_DCS;164
165 } else if (c == '5') {166
167 newBand = GSM_MODE_GSM850_PCS;168
169 } else if (c == '6') {170
171 newBand = GSM_MODE_GSM850_EGSM_DCS_PCS;172
173 } else {174
175 newBand = "GSM_MODE_UNDEFINED";176
177 }178
179 return newBand;180}Last revision 2018/08/23 by SM
Suggest changes
The content on docs.arduino.cc is facilitated through a public GitHub repository. If you see anything wrong, you can edit this page here.
License
The Arduino documentation is licensed under the Creative Commons Attribution-Share Alike 4.0 license.