GSM Web Server
Create a wireless web server through GPRS.
This sketch turns the Arduino board with the GSM shield and a data enabled SIM card into a web server. When the board receives a request from a connected client, it sends back the value of analog inputs 0-5.
Not all network operators allow incoming data requests from outside their network. This means you can create a web server with the GSM shield, but you may not be able to connect to it from the public internet; only from another data enabled device from the same provider on the same network. You should check with your provider to see what specific policies they have in place regarding incoming data connections.
Hardware Required
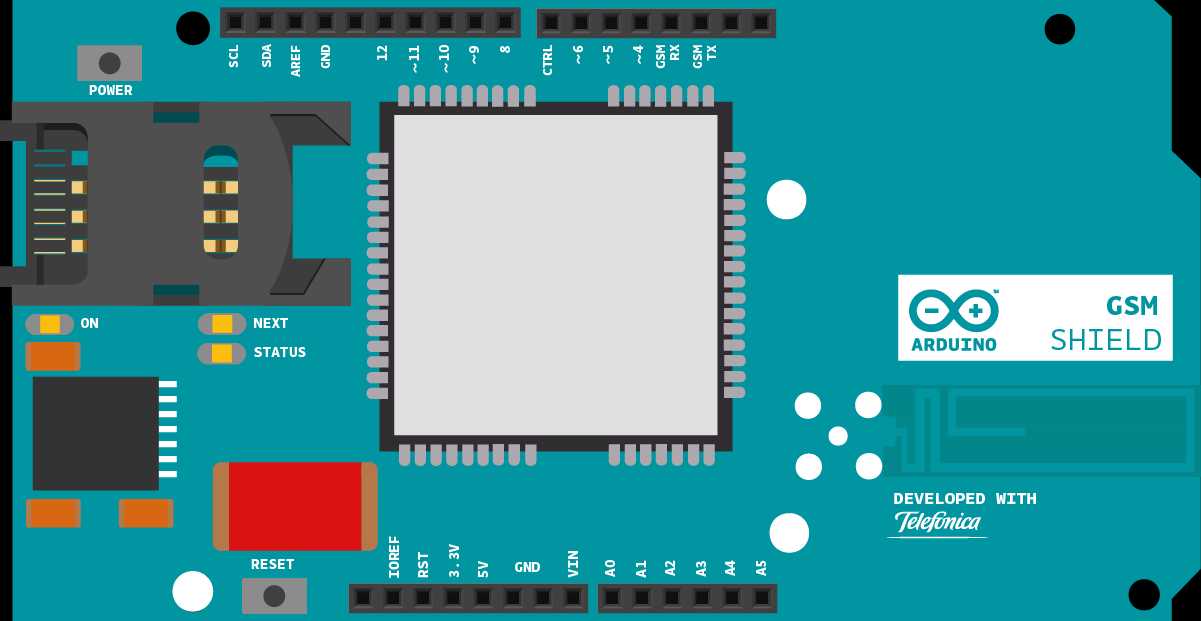
Arduino Board
SIM card enabled for Data
(optional) 6 potentiometers or other analog inputs attached to A0-A5
Circuit
Optional analog sensors like photoresistors, potentiometers and such may be connected, as explained elsewhere in our tutorials, to pins A0 - A5
Code
First, import the GSM library
#include <GSM.h>SIM cards may have a PIN number that enables their functionality. Define the PIN for your SIM. If your SIM has no PIN, you can leave it blank :
#define PINNUMBER ""Define a number of constants that contain information about the GPRS network you're going to connect to. You'll need the Access Point Name (APN), login, and password. To obtain this information, contact your network provider for the most up to date information. This page has some information about various carrier settings, but it may not be current.
1#define GPRS_APN "GPRS_APN"2#define GPRS_LOGIN "login"3#define GPRS_PASSWORD "password"Initialize instances of the classes you're going to use. You're going to need the GSM, GPRS, and GSMServer classes. When you instantiate the GSMServer class, you'll need to tell it which port to listen for incoming connections. Port 80 is the default port for HTTP requests.
1GPRS gprs;2
3GSM gsmAccess;4
5GSMServer server(80);In
setup1void setup(){2
3 Serial.begin(9600);4
5 Serial.println("Starting Arduino web client.");Create a local variable to track the connection status. You'll use this to keep the sketch from starting until the SIM is connected to the network :
1boolean notConnected = true;Connect to the network by calling
gsmAccess.begin()gprs.attachGPRS()while()trueWhen the modem does connect and has attached itself to the GPRS network,
gsmAccess()GSM_READYnotConnectedtruefalsesetup1while(notConnected)2
3 {4
5 if(gsmAccess.begin(PINNUMBER)==GSM_READY)6
7 (gprs.attachGPRS(GPRS_APN, GPRS_LOGIN, GPRS_PASSWORD)==GPRS_READY))8
9 notConnected = false;10
11 else12
13 {14
15 Serial.println("Not connected");16
17 delay(1000);18
19 }20
21 }Start the server using
server.begin()grps.getIPAddress()1server.begin();2
3 IPAddress LocalIP = gprs.getIPAddress();4
5 Serial.println("Server IP address=");6
7 Serial.println(LocalIP);8}In
loopGSMClient1void loop() {2
3 GSMClient client = server.available();4
5 if (client)6
7 {While the client is connected, and there is data waiting to be read, begin to read the request. Read through the available bytes until a newline character has been received.
In this instance, you won't actually do anything with the request, it's assumed that it is a HTTP request, and you'll serve up a web page.
1while (client.connected())2
3 {4
5 if (client.available())6
7 {8
9 Serial.println("Receiving request!");10
11 bool sendResponse = false;12
13 while(char c=client.read()) {14
15 if (c == '\n') sendResponse = true;16
17 }Once the request has been read, start to send a standard HTTP response header with
client.print()client.println()1if (sendResponse)2
3 {4
5 client.println("HTTP/1.1 200 OK");6
7 client.println("Content-Type: text/html");8
9 client.println();10
11 client.println("<html>");Read through the analog inputs and send the values to the client.
1for (int analogChannel = 0; analogChannel < 6; analogChannel++) {2
3 client.print("analog input ");4
5 client.print(analogChannel);6
7 client.print(" is ");8
9 client.print(analogRead(analogChannel));10
11 client.println("<br />");12
13 }Send a closing tag for the webpage, and stop the client connection before closing the
loop1client.println("</html>");2
3 //necessary delay4
5 delay(1000);6
7 client.stop();8
9 }10
11 }12
13 }14
15 }16}Once your code is uploaded, open the serial monitor. Once the IP address is printed to the serial monitor, enter it into a web browser. You should see a webpage that reports the analog input values on each the Arduino's six inputs.
if you cannot connect to the IP address, make sure your network operator enables incoming traffic.
Complete Sketch
The complete sketch is below.
1/*2
3 GSM Web Server4
5 A simple web server that shows the value of the analog input pins.6
7 using a GSM shield.8
9 Circuit:10
11 * GSM shield attached12
13 * Analog inputs attached to pins A0 through A5 (optional)14
15 created 8 Mar 201216
17 by Tom Igoe18
19 */20
21// libraries22#include <GSM.h>23
24// PIN Number25#define PINNUMBER ""26
27// APN data28#define GPRS_APN "GPRS_APN" // replace your GPRS APN29#define GPRS_LOGIN "login" // replace with your GPRS login30#define GPRS_PASSWORD "password" // replace with your GPRS password31
32// initialize the library instance33
34GPRS gprs;35
36GSM gsmAccess; // include a 'true' parameter for debug enabled37
38GSMServer server(80); // port 80 (http default)39
40// timeout41
42const unsigned long __TIMEOUT__ = 10 * 1000;43
44void setup() {45
46 // initialize serial communications and wait for port to open:47
48 Serial.begin(9600);49
50 while (!Serial) {51
52 ; // wait for serial port to connect. Needed for native USB port only53
54 }55
56 // connection state57
58 bool notConnected = true;59
60 // Start GSM shield61
62 // If your SIM has PIN, pass it as a parameter of begin() in quotes63
64 while (notConnected) {65
66 if ((gsmAccess.begin(PINNUMBER) == GSM_READY) &67
68 (gprs.attachGPRS(GPRS_APN, GPRS_LOGIN, GPRS_PASSWORD) == GPRS_READY)) {69
70 notConnected = false;71
72 } else {73
74 Serial.println("Not connected");75
76 delay(1000);77
78 }79
80 }81
82 Serial.println("Connected to GPRS network");83
84 // start server85
86 server.begin();87
88 //Get IP.89
90 IPAddress LocalIP = gprs.getIPAddress();91
92 Serial.println("Server IP address=");93
94 Serial.println(LocalIP);95}96
97void loop() {98
99 // listen for incoming clients100
101 GSMClient client = server.available();102
103 if (client) {104
105 while (client.connected()) {106
107 if (client.available()) {108
109 Serial.println("Receiving request!");110
111 bool sendResponse = false;112
113 while (char c = client.read()) {114
115 if (c == '\n') {116
117 sendResponse = true;118
119 }120
121 }122
123 // if you've gotten to the end of the line (received a newline124
125 // character)126
127 if (sendResponse) {128
129 // send a standard http response header130
131 client.println("HTTP/1.1 200 OK");132
133 client.println("Content-Type: text/html");134
135 client.println();136
137 client.println("<html>");138
139 // output the value of each analog input pin140
141 for (int analogChannel = 0; analogChannel < 6; analogChannel++) {142
143 client.print("analog input ");144
145 client.print(analogChannel);146
147 client.print(" is ");148
149 client.print(analogRead(analogChannel));150
151 client.println("<br />");152
153 }154
155 client.println("</html>");156
157 //necessary delay158
159 delay(1000);160
161 client.stop();162
163 }164
165 }166
167 }168
169 }170}Last revision 2018/08/23 by SM
Suggest changes
The content on docs.arduino.cc is facilitated through a public GitHub repository. If you see anything wrong, you can edit this page here.
License
The Arduino documentation is licensed under the Creative Commons Attribution-Share Alike 4.0 license.