MKR RGB Shield Fading
Learn how to gradually increase and decrease the brightness of the LEDs on the shield.
Introduction
In this tutorial, we are going to fade all of the pixels on the MKR RGB Shield, in and out. This method can also be used for smooth transitions between colors, which gives a better visual effect!
For this, we will create 2x
forGoals
The goal of this project are:
- Fade the matrix on the MKR RGB Shield in and out, using a
loop.for
Hardware & Software Needed
- Arduino IDE (online or offline).
- Arduino_MKRRGB library installed.
- ArduinoGraphics library installed.
- MKR RGB Shield (link to store).
- Arduino MKR family board (link to store).
For Loops
For1for (int i = 0; i <= 255; i++){2 // do something 255 times3 delay(10); //quick pause between the loops4}As seen in the snippet above, the variable
i0<=i++This means, that as long as the number is smaller or equal to 255, it will continue to increase. Now, we can add code within the curly brackets, and feed the
i1for (int i = 0; i <= 255; i++){2 analogWrite(i, LED);3 delay(10);4}Now, as we set the delay to 10 milliseconds, it will take 2550~ milliseconds (2.5~ seconds) to gradually light up the LED.
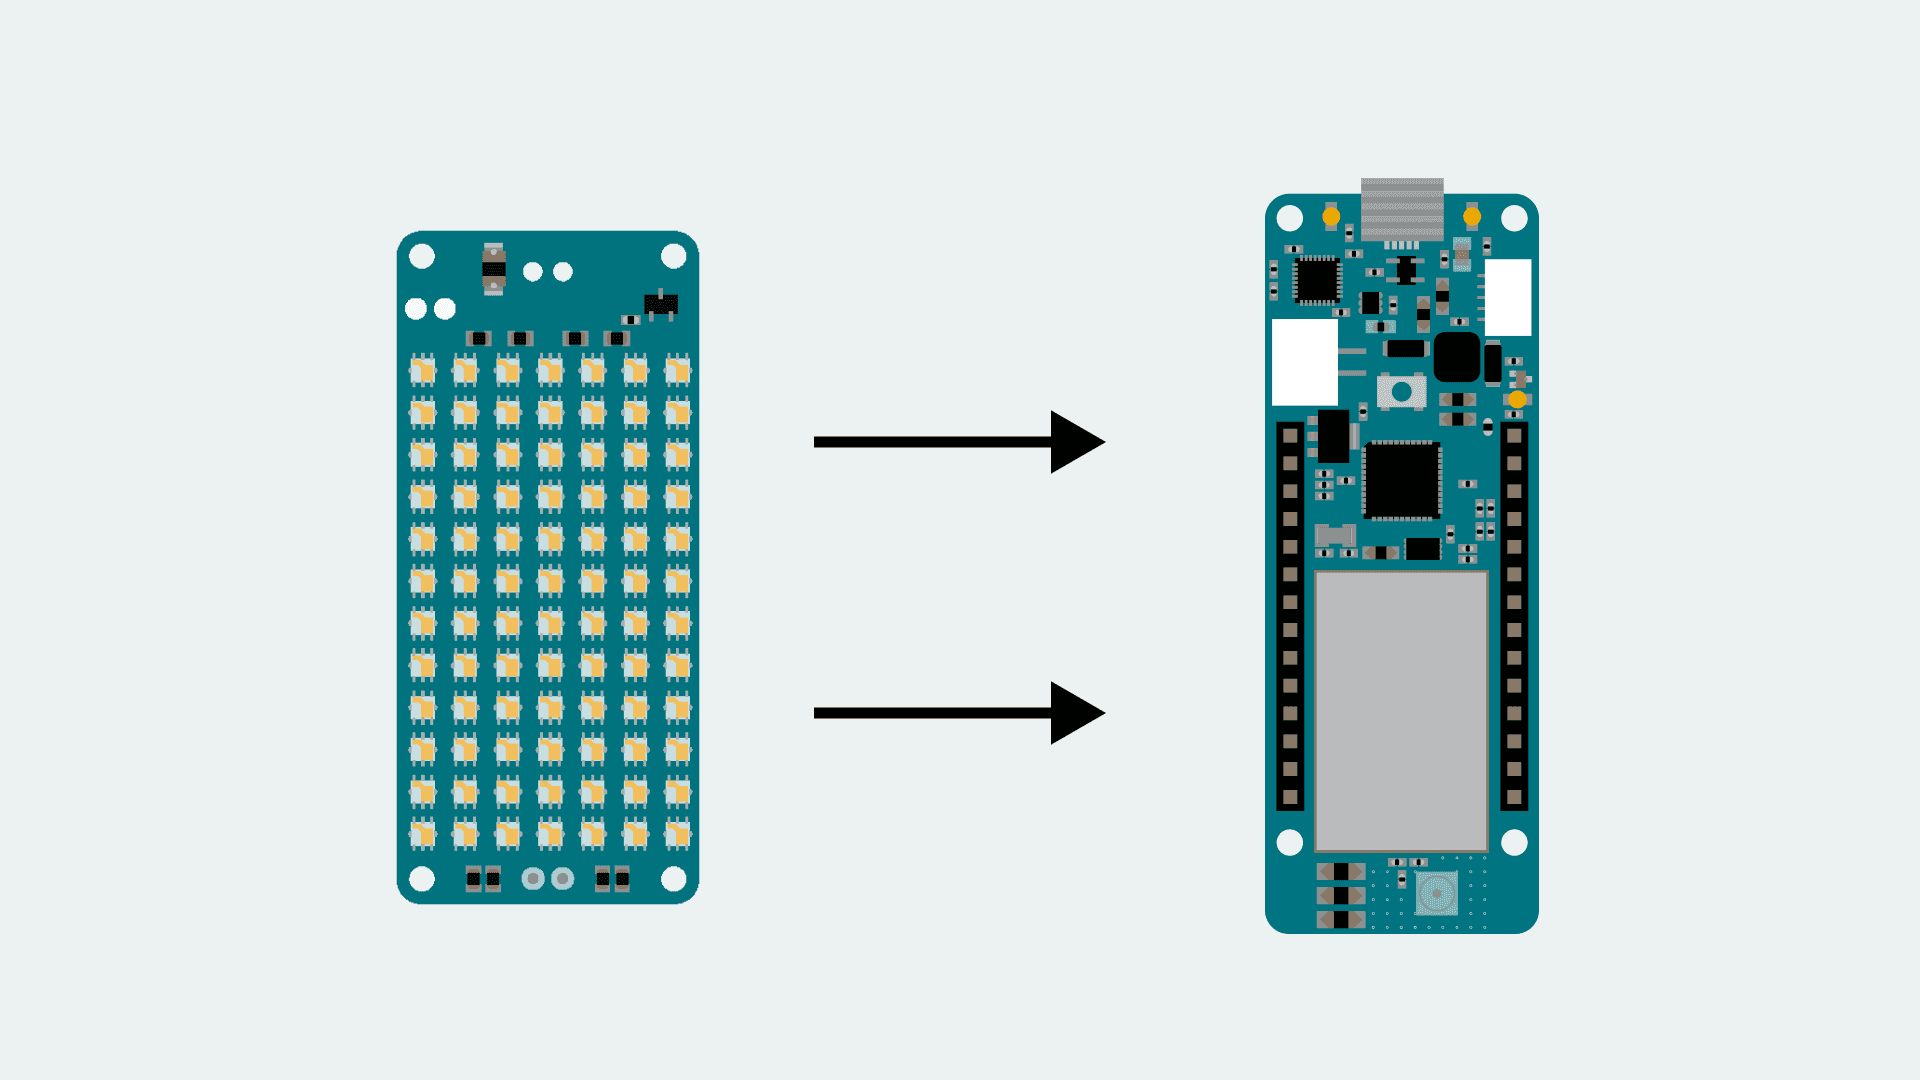
Circuit
The circuit in this tutorial is very easy. Simply mount the MKR RGB Shield on top of an Arduino MKR board.
Programming the Board
We will now get to the programming part of this tutorial.
1. First, let's make sure we have the drivers installed for the board we are using. If we are using the Web Editor, we do not need to install anything. If we are using an offline editor, we need to install it manually. This can be done by navigating to Tools > Board > Board Manager.... Here we need to look for the Arduino SAMD boards (32-bits Arm® Cortex®-M0+) and install it.
2. Now, we need to install the libraries needed. If we are using the Web Editor, there is no need to install anything. If we are using an offline editor, simply go to Tools > Manage libraries.., and search for Arduino_MKRRGB and ArduinoGraphics and install them.
3. Here are some of the core functions of this sketch:
- this class is used for all Arduino_MKRRGB functions.MATRIX
- initializes the libraryMATRIX.begin()
- begins a drawing session.MATRIX.beginDraw()
- ends a drawing session.MATRIX.endDraw()
- sets the color of the fill.MATRIX.fill(r,g,b)
creates a rectangle.MATRIX.rect(startX, startY, width, height)
- sets the maximum height of the matrix.MATRIX.height()
- sets the maximum width of the matrix.MATRIX.width()
The sketch can be found in the snippet below. Upload the sketch to the board.
1#include <ArduinoGraphics.h>2#include <Arduino_MKRRGB.h>3
4void setup() {5 // initialize the display6 MATRIX.begin();7 // set the brightness, supported values are 0 - 2558 MATRIX.brightness(10);9}10
11void loop() {12
13 for (int i = 0; i <= 255; i++) {14 MATRIX.beginDraw();15 MATRIX.fill(i, 0, 0);16 MATRIX.rect(0, 0, MATRIX.width(), MATRIX.height());17 MATRIX.endDraw();18 delay(10);19 }20
21 for (int i = 255; i >= 0; i--) {22 MATRIX.beginDraw();23 MATRIX.fill(i, 0, 0);24 MATRIX.rect(0, 0, MATRIX.width(), MATRIX.height());25 MATRIX.endDraw();26 delay(10);27 }28
29}Testing It Out
If everything is successful, after uploading the code, the MKR RGB Shield should now slowly fade in a red color. When the color is at its brightest (255), the program exits the
forii--i++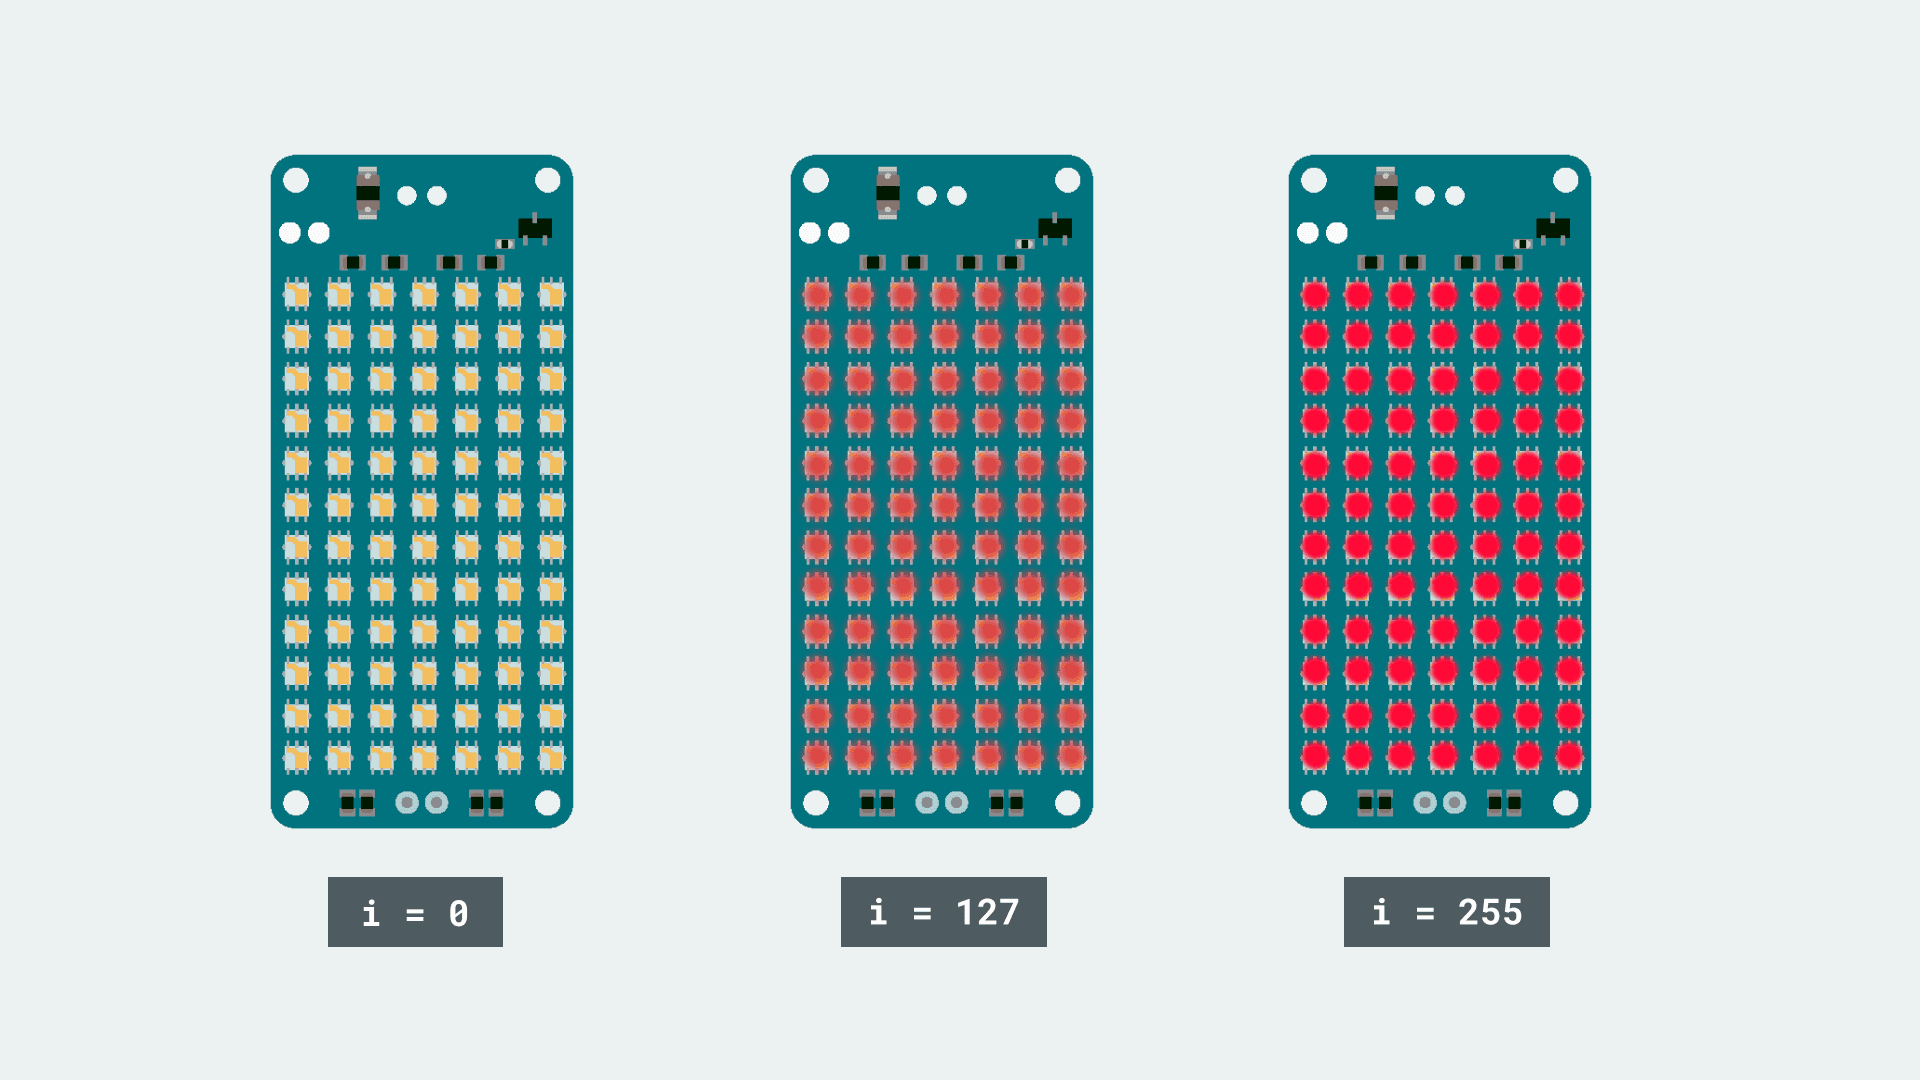
When the second
forforTroubleshoot
If the code is not working, there are some common issues we can troubleshoot:
- You have not mounted the MKR RGB Shield on top of an Arduino MKR board.
- You have not installed the Arduino_MKRRGB and ArduinoGraphics library.
Conclusion
In this tutorial, we have used a popular fading method together with the MKR RGB Shield and the help of
forforFeel free to explore the Arduino_MKRRGB and ArduinoGraphics libraries further, and try out some of the many cool functions.
Suggest changes
The content on docs.arduino.cc is facilitated through a public GitHub repository. If you see anything wrong, you can edit this page here.
License
The Arduino documentation is licensed under the Creative Commons Attribution-Share Alike 4.0 license.